Slapstick Comedy: wrapping up the drama process!

This term, the year 7 and 8 classes studied a unit of work on ‘Slapstick Comedy’. I have posted previously about how we explored the concept of humour in general, and how we defined slapstick comedy. Three weeks ago, we kick-started the drama process and began brainstorming for our performances, and we had the opportunity to write up the scripts and draw up the storyboards for the performances. We also had the opportunity to rehearse for our performances
Last week, we finally had the opportunity to wrap up this process and move into the final two steps: ‘performance’ and ‘reflection & evaluation’. The lesson’s warmup was a quick physical and vocal warmup followed by a final run-through rehearsal outside in the courtyard. After that, the students formed an audience and we watched every performance. The audience were asked to give feedback to each group of performers in the form of positive comments or useful suggestions for improvement. Each performance was recorded using the iPad for documentation purposes, and also to help the performers themselves reflect on and evaluate their own performance skills (as it is much more meaningful to see yourself acting in order to spot your strengths and weaknesses, and hence reflect on them). 
After all performances were presented, the students were given a chance to view their short slapstick scenes, and then use the reflection help-sheet to write their four-sentence reflections and the task-sheet evaluation checklist to evaluate the process as well as the final product. For the year 7 classes (who have iPads), I allowed them to record their reflections orally and attach them to their Evernote group-portfolios/shared-notebooks. After the lesson, I looked through all group-portfolios and I attached my written and oral feedback, and final assessment. 
Overall, I think the task was very engaging for the students. This was the first task where I agreed to allow some students to just be writers and directors for their group’s performance, as many students did not really seem to enjoy performing or were too self-conscious. I believe these students were a lot more engaged with the task.
Below you will find a video-tour of one of my year 7 portfolios for this task, followed by some screenshots of evidence attached to the some group portfolios to document every stage in the drama process: brainstorming, preparation (script-writing/story-boarding), rehearsal, performance, reflection & evaluation.
And this, ladies and gentlemen, concludes our year in the drama classroom! Summer here we come!

A screenshot of the final portfolio
A written outline/brainstorm for the performance
A visual brainstorm for another performance
The script writing-phase
A storyboard (shared as a PDF file with the students and they used an app called Type on PDF to annotate over it)
Another storyboard – these students preferred hand-drawings and then inserting them into the storyboard through Type on PDF
Blocking the main actions/movements in the scene
Adding evidence of rehearsal using a rehearsal log and some pictures
Evidence of performance – video uploaded on class YouTube channel and hyperlinked in portfolio + adding screenshots of parts of the video
Video of performance on YouTube (set on private or unlisted depending on parent permissions)

Oral reflections and evaluations by group members

Written and oral feedback given by teacher

Slapstick Comedy: Step three of the drama process!

The year 7 and 8 classes are studying a unit of work on ‘Slapstick Comedy’. I have posted previously about how we explored the concept of humour in general, and how we defined slapstick comedy. Two weeks ago, we kick-started the drama process and began brainstorming for our performances, and we had the opportunity to write up the scripts and draw up the storyboards for the performances
This week we moved on to step three of the drama process: rehearsal. The lesson started with a quick warmup called Status Pictures, where the students form still-images depicting situations involving characters of different status. This warm-up was chosen to get students thinking about status relationships and how they are used in slapstick comedy to create humour. After the warmup and debriefing session that followed, I recapped on the theoretical part of the unit which was written on the whiteboard (pictured below); then the students moved into their groups (or ‘theatre companies’) and were each given a rehearsal handout (A4 size) and an A3 size Rehearsal Log. I circulated around each group to check their progress and to recap over the rehearsal process: what is its importance and how can it be used effectively?
The students spread around the drama room (some groups moved outside into the courtyard) and they each rehearsed a few times. The groups were told to choose a different focus for every rehearsal (e.g. body language, or blocking, or voice etc…), to fill out the rehearsal log after every rehearsal to reflect on it, and to document their rehearsals with photos and some video footage (using smart-phones/iPods for year 8s, or iPads for the year 7s). The students were also told to keep evidence of their rehearsal in their portfolios: e.g. annotated pictures from rehearsal (printed from classroom printer) and the rehearsal log. For the year 7 students, who all have iPads, this evidence was just added to their shared Evernote notebook which they used as their group portfolio
The rehearsal process seemed to go rather efficiently, and everyone had a meaningful role as each student was either acting out in rehearsal, or taking photos/shooting video, or filling out the rehearsal log. The groups also seemed much more committed to the rehearsal process due to of having a different focus for every rehearsal. Below are some snapshots of the rehearsal logs of a couple of ‘theatre companies’, a snapshot of the whiteboard, and a screenshot of an Evernote portfolio from one of the year 7 groups.
Next week, we move into the final two steps of the drama process: performance, followed by reflection and evaluation. Stay tuned ladies and gentlemen!

Slapstick Comedy: Step two of the drama process!

The year 7 and 8 classes are studying a unit of work on ‘Slapstick Comedy’. I have posted previously about how we explored the concept of humour in general, and how we defined slapstick comedy. Last week, we kick-started the drama process and began brainstorming for our performances

This week, the ‘theatre companies’ (the fancy name I use for my drama groups) finalised their brainstorms and started writing their scripts and creating their storyboards. The script-writing process was mainly driven by each group’s ‘writer’, while the story-boarding was mainly driven by the group’s ‘director’. The year 7 classes had to do this on their iPads and attach evidence to their group portfolio on Evernote. The year 8 classes (who do not have iPads) were each given a group folder to use as their portfolio for the task. The lesson’s learning objective is to ‘apply the skills, techniques and processes used to create slapstick comedy performances’.
The lesson’s warmup was a game I found on The Drama Notebook called ‘Queen of Hearts’. This game is designed to get students to think about status, as each student is assigned a card from a deck of cards. Each card represents a different character in a medieval royal court, and the higher the card the higher the status of the character. The students then mill about the room, walking and relating to others in character. The class then had a quick debriefing session about the warmup and we related it to the use of status relationships in slapstick comedy to add to the humour, either by overly exaggerating those relationships or challenging them. We also talked about other ways to create character in slapstick comedy, such as creating dominant negative personality traits for each character and designing bizarre over-the-top costumes.
To start the second step of the drama process, which is preparing the script and storyboard, the students used this template which I adapted from a worksheet I stumbled into by accident through a Google search of ‘drama worksheets’ (the Internet is MY BEST FRIEND). The students had to use what we have learned about slapstick comedy so far in their script-writing process (e.g. they must incorporate some slapstick techniques like the trip, slip, collide, double-take, stuck, and lazzi; they must use slow-motion to add dramatic effect to these techniques; and they were also encouraged to use status, personality traits and costumes to add comic potential to their characters). Here are snapshots of one group’s script and storyboard:

Next week, we move into the third step of the drama process, which is ‘to rehearse’. The students will be using a template for blocking and rehearsing, and they will also be using their iPods/iPads/smart-phones to document their rehearsals and reflect on their acting to refine and polish their performances. Stay tuned!

Kick-starting the drama process: Slapstick Comedy!

So, over the past few weeks, the year 7s and year 8s were exploring humor in general and then moved on to defining slapstick comedy. This week’s lesson was an introduction to the slapstick techniques that they can incorporate in their performance: the trip, the slip, the collide, the stuck, the double-take, and lazzi (comic accidents). We discussed each of these techniques and we got a chance to apply them. We also highlighted the importance of slow motion to add dramatic effect and for the actors to stay safe.

The warm-up for the lesson was a One-Sentence-Story with the title “The Worst Day of My Life”. We all sat in a circle and every student had to add one sentence to the story. This warm-up was chosen to get them to think about accidents and mishaps, which is what slapstick is mostly about, and as a preparation for the assessment task to follow. The students then moved into groups and were told that we will start the first step of the drama process this week to prepare a slapstick comedy performance titled “The Worst Day of My Life”. They had to decide on who is going to be the group’s writer and who will be the director for this performance. The students are aware that the first step of the drama process is to brainstorm, and I used this story-map graphic organizer from Education Oasis to get them to think about their performance. Here is a snap-shot of one of the groups’ story-maps.

During the course of the coming few weeks we will move into the remaining steps of the drama process, which is to prepare a script and a storyboard for their performance, followed by the third step, to rehearse and polish their performance, then to perform in front of an audience and receive feedback, then to reflect & evaluate. Each of these steps will require certain evidence being documented in the group’s portfolio for this task. The year 7 students are also doing the same task but they are using their iPads to prepare their portfolio.

Stay tuned for next week’s lesson, where we move on to scripting and story-boarding the performance (some groups already started this step because they were so excited)! We will also focus on the role of costumes, personality traits, and status in slapstick comedy to help the students create slapstick characters when writing up their performances!

Defining slapstick comedy!

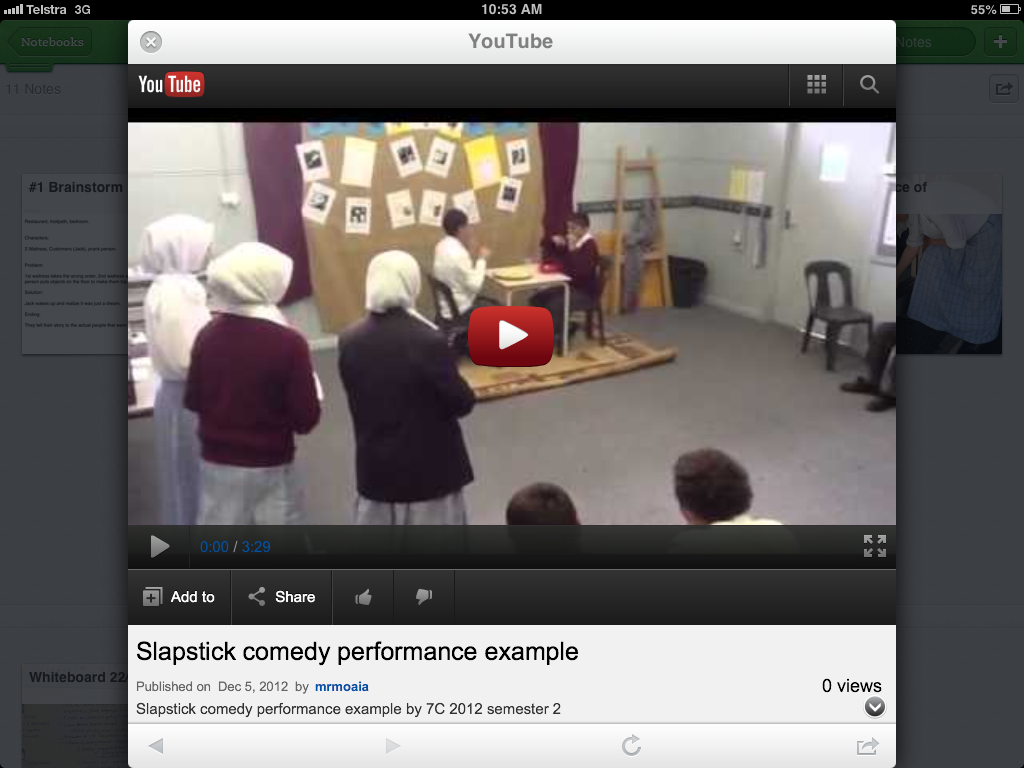
Last week, the year 7s were exploring the concept of humor in general and what makes something ‘funny’. This week, we shifted our focus more on slapstick comedy and attempted to define/explain it. The lesson started with two warm-ups: Family Portraits and Mirror Exaggerations! These two warm-ups were selected to get the students thinking about some key concepts in slapstick: exaggeration, imitation, physicality/movement, and characterization.

The students were then seated in groups. One group member from each group was asked to bring their iPads and access this Google Form embedded on the class’ Edmodo page. Of course, some students forgot their usernames and passwords, but that’s the beauty of Edmodo, the teacher can reset the students’ passwords anytime.

The students then watched 5 short clips from ‘Looney Tunes’, ‘Home Alone’, ‘The Three Stooges’ and ‘Dumb’N’Dumber’. These clips were chosen to get them to think about how negative personality traits are accentuated and exaggerated in slapstick comedy, how status relationships are challenged and flipped (e.g. young smart Kevin vs. older bigger robbers in Home Alone), how slapstick humor relies a lot on showing comedy through exaggerated actions, movements, facial expressions and body language; and how ‘comic’ accidents play a very important part in creating slapstick humor. Below are screenshots of the Google Form used and some student responses.

The next part of the lesson was a discussion centered around the students’ responses. The Google Form responses were projected on the screen and we used it as a prompt for further discussion, with the aim of ultimately formulating a class definition of slapstick humor and what make it different from other types of humor. Below is a picture of the whiteboard after formulating the definition/explanation of slapstick comedy.

Next week, we will start exploring specific slapstick techniques that can be incorporated in skits and plays in the drama classroom! I can’t wait!

Introducing Slapstick Comedy to the year 7s!

Today, we started a new unit of work on ‘Slapstick Comedy’. This unit of work is designed for the year seven group. The students had a quick circle warm-up where one student would call-out an emotion and the rest would mirror that emotion with a lot of exaggeration, using body language, facial expressions, gestures, poses. The students laughed a lot at some of the responses.

After a quick debriefing/oral reflection about the warm-up and the skills involved, the students were divided into groups of 3 or 4 participants, and each given a piece of poster paper and a few markers. The students had to then watch ‘Gangnam Style‘ and respond to these three questions (which I prepared earlier as a Tumblr post). While the brainstorming questions are not necessarily focused on ‘slapstick comedy’ per se, the aim was to get students to deconstruct humour in general and what makes certain things ‘funny’. These questions are from Tom March’s Look-to-Learn Tumblr blog.

While the students were responding to the three questions on the poster paper, one member of each group was withdrawn to bring their iPad and access the typewith.me EtherPad and input their group’s responses. The students were very engaged and keen to see each group’s response as they were writing it. Here is a screenshot of their responses and a photo of the brainstorm posters.

We then had a quick discussion about their responses and arrived at the unit of work’s ‘significant concept’ which is: Different people laugh at different things. The class followed that with a discussion of the unit of work’s ‘area of interaction focus’ and ‘MYP unit question’. To conclude the lesson, we had a quick reflection activity where the students set three personal learning goals for this unit of work, in written format. The lesson was quite engaging, made use of ICT and incorporated group-work, brainstorming, discussion and reflection. Next week, we will focus more on slapstick comedy and define it and start looking at its features/elements.